HEIF (High Efficiency Image File Format) is supported on iOS 11 and macOS High Sierra and later, offering half smaller photos versus the ubiquitous JPEG format without any quality loss.
HEIF is basically a file format for images encoded with HEVC (aka the H.265 codec).
HEIF images are saved with the .HEIC extension.
Because we’re still living in a JPEG world, those who shoot in HEIF may want to convert their images to the JPEG format. That’s probably unnecessary if you’d like to share HEIFs to social media via the multi-purpose Share menu on iPhone, iPad and Mac because the operating system performs the HEIF → JPEG conversion on the fly, for compatibility’s sake.
However, if your favorite image-editing apps haven’t yet been updated to work with HEIF images (.HEIC files), you’ll need to convert them to JPEG to open them.
How to export HEIF images as JPEGs in Photos for Mac
For those of you who prefer to manage your media using Apple’s Photos app, here’s how you can export your HEIF-encoded photographs in the more widely used JPEG format.
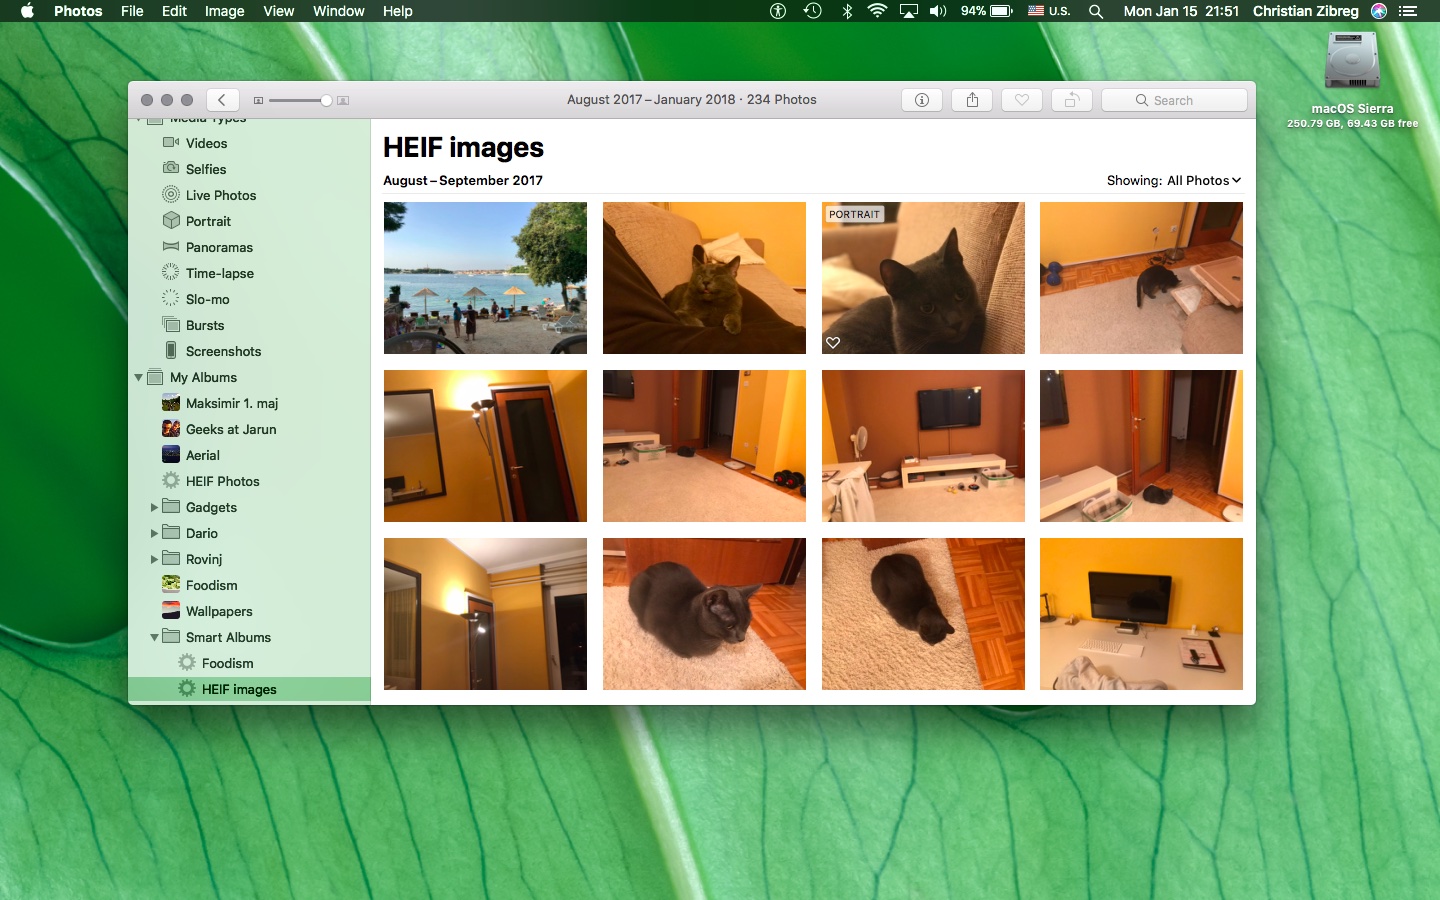
1) Launch Apple’s Photos app on your Mac.
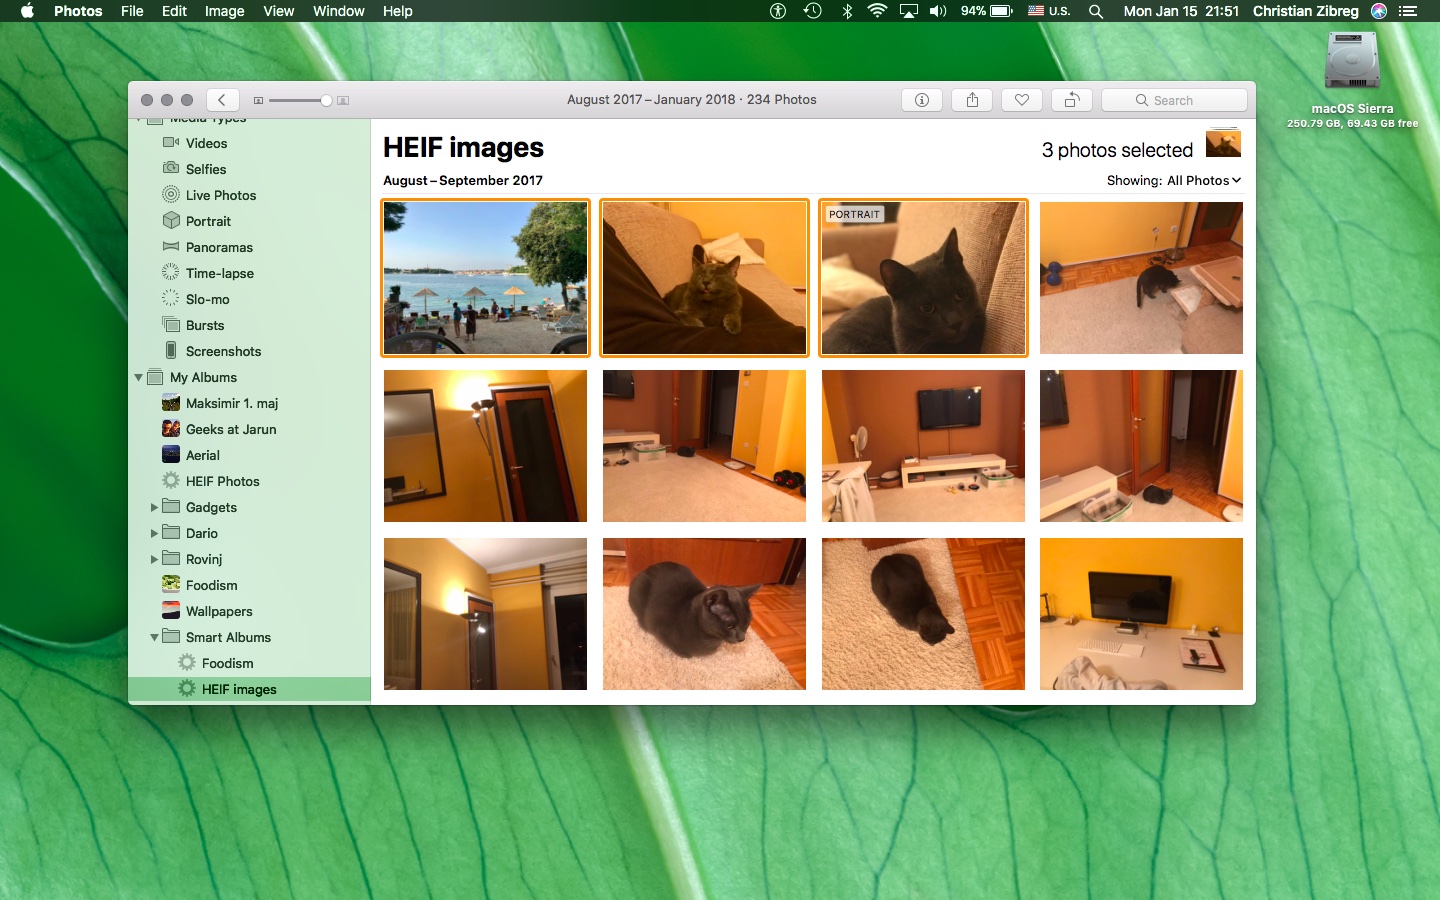
2) Select one or more HEIC photos you’d like to convert to the JPEG format.
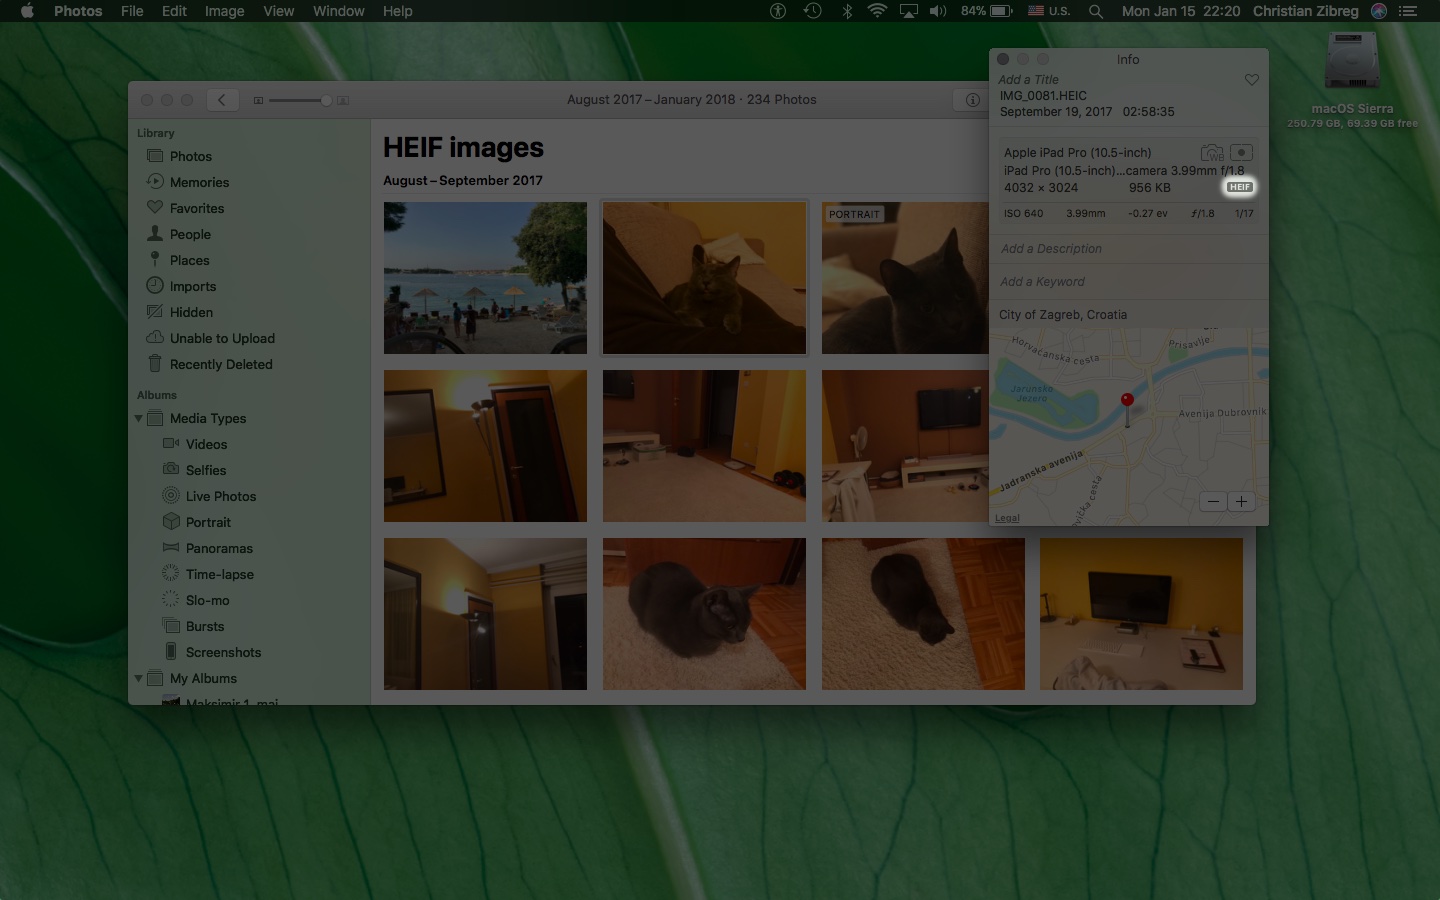
TIP: Unsure about the image format? Select any photo and press Command (⌘)-I on the keyboard to reveal the Info pane where you can see its underlying codec.
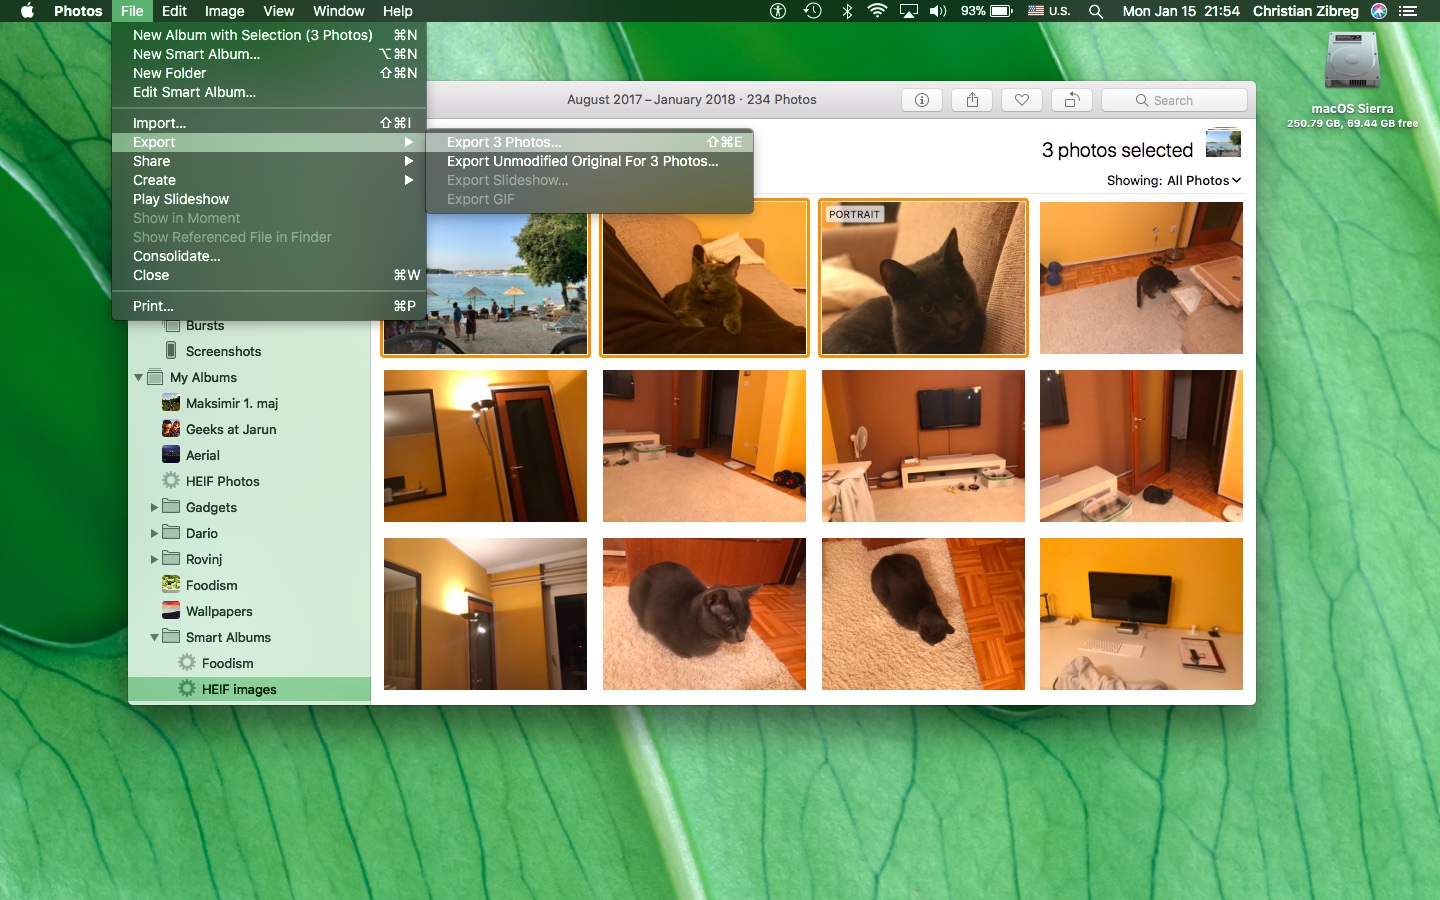
3) Choose the Export x Photos command from the File → Export submenu to save your edited HEIFs as JPEGs or select the Export Unmodified Original for x Photos option from the menu if what you want to do is convert the originals without any edits applied.
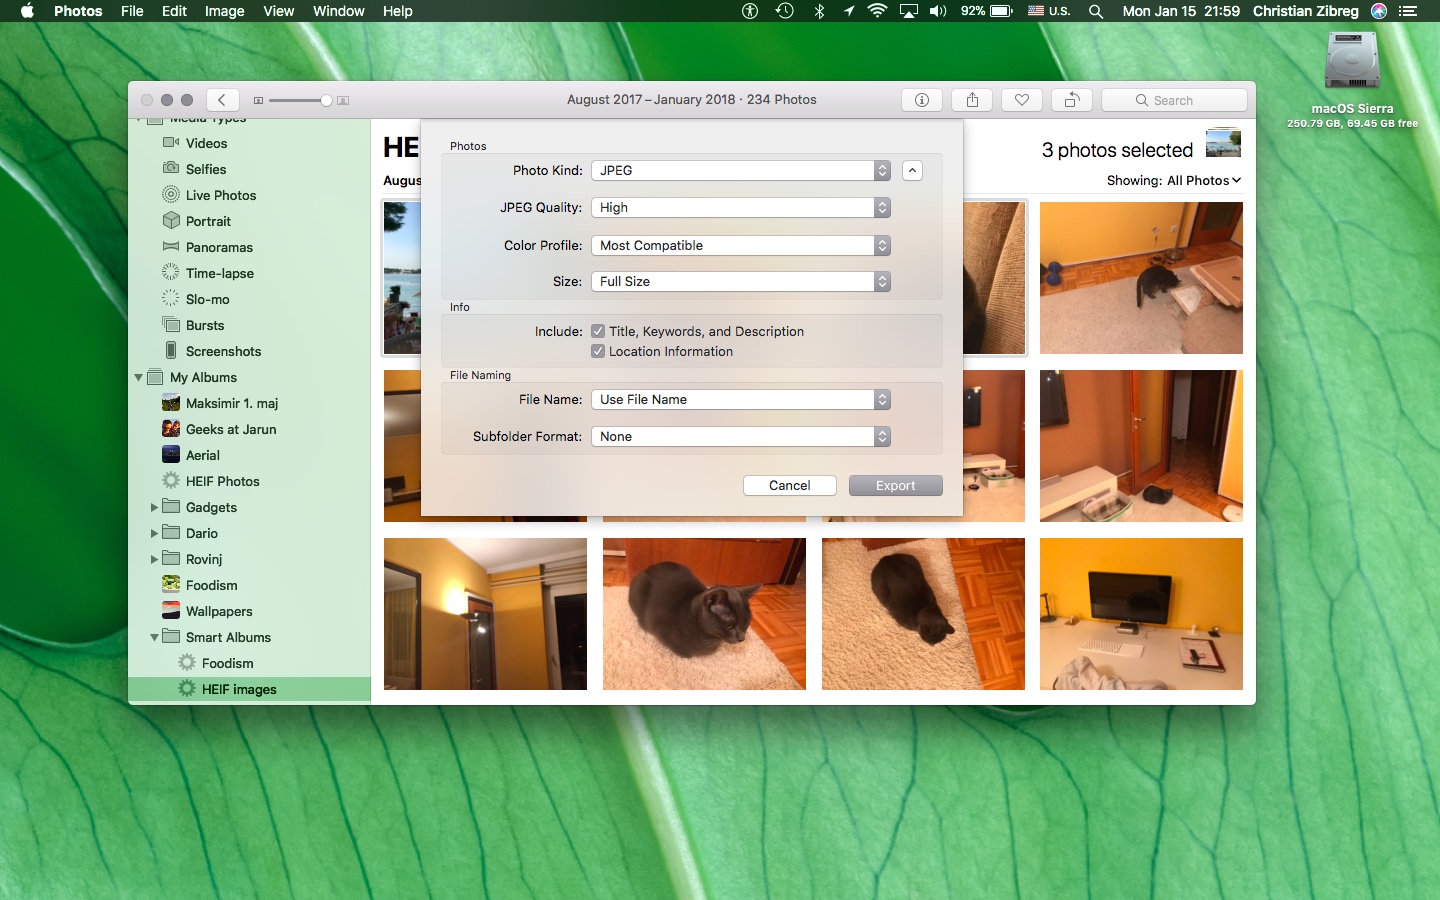
4) Choose JPEG from the Photo Kind menu.

Also set JPEG Quality to High, Color Profile to Most Compatible and Size to Full Size.
5) Click the Export button.
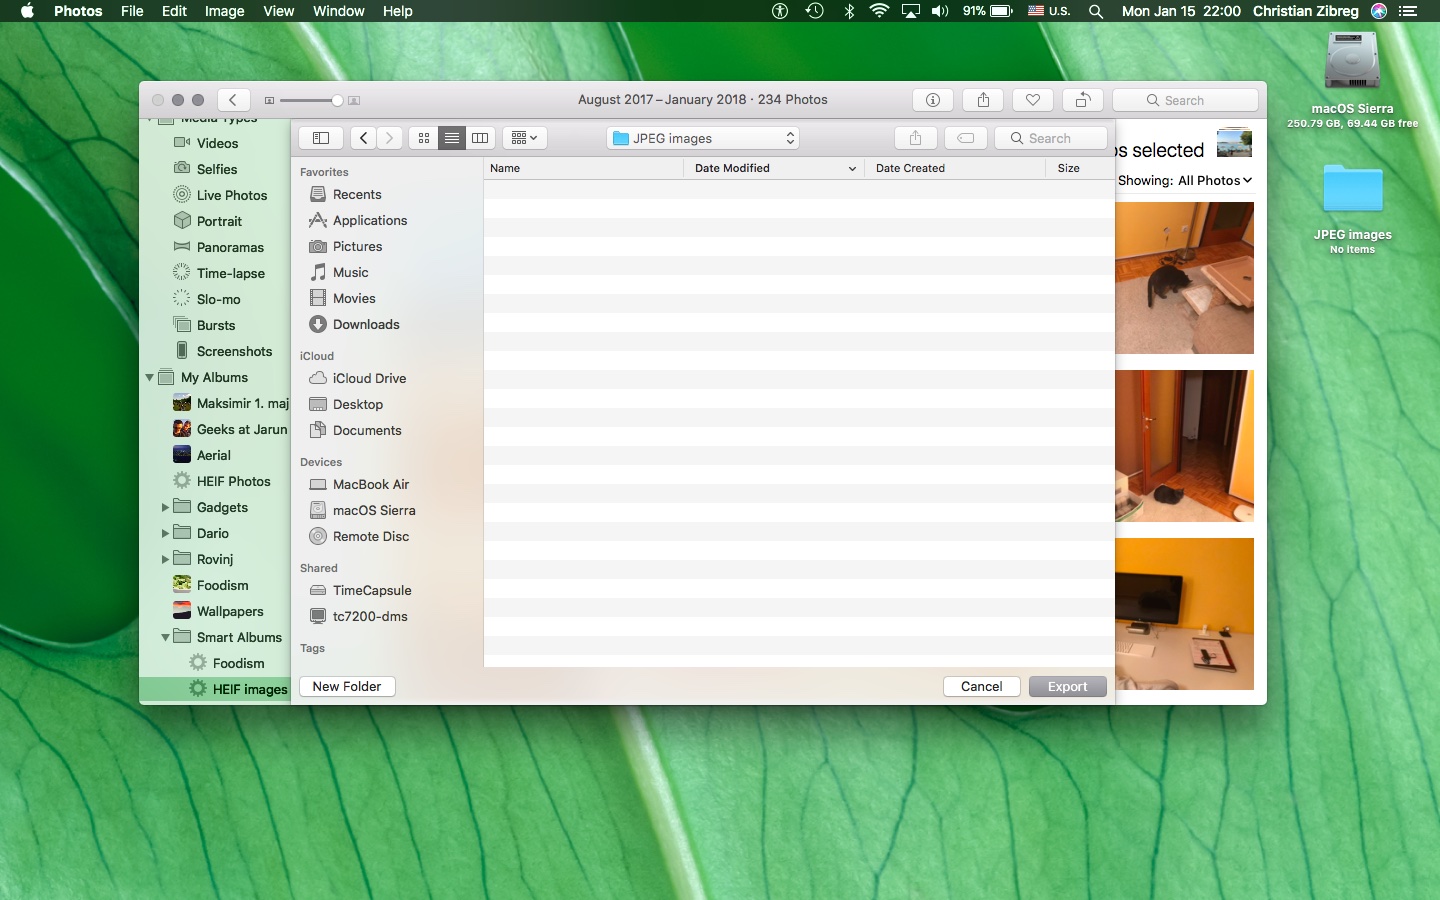
6) Choose where you’d like to save your converted JPEG files, then click the Export button to begin the conversion process using your chosen parameters.
This may take a while, depending on the number of images selected for the conversion, their resolution, your Mac’s processor and graphics chip and other factors.
A notification from Photos appears in the upper-right corner when the conversion has finished.
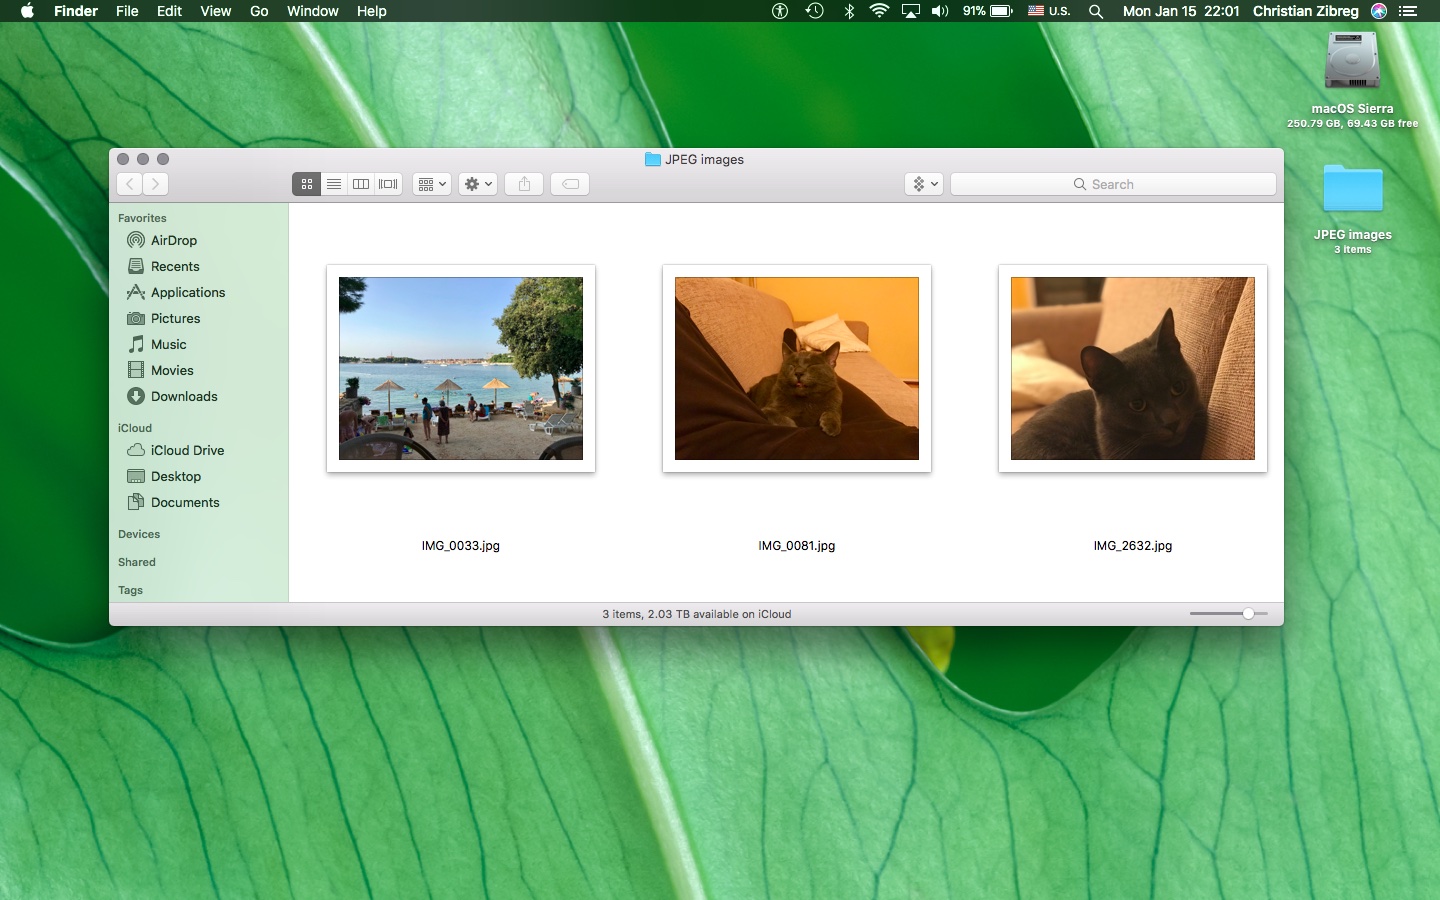
7) You can now close out Photos and access your converted JPEG files in the Finder.
Who’s shooting in HEIF?
Before you decide to convert all your HEIFs to JPEGs, keep in mind that compression artifacts will become more pronounced every time a photo gets converted from one lossy format, like HEIF, to another lossy format, such as JPEG.
If you own an iPhone 7 or later and have performed an upgrade to iOS 11, it’s worth knowing that Apple has changed your Camera settings to shoot in HEIF by default. Most people are unaware of the change: some of you may be shooting in HEIF without even realizing it!
You can change your media format on iOS 11 at will with just a few taps.
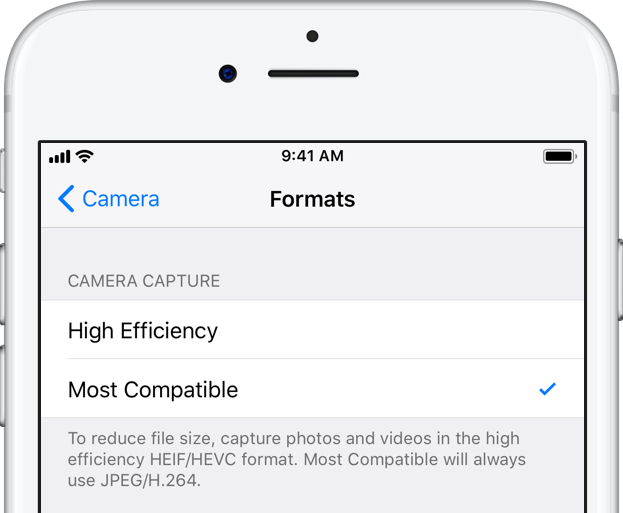
Simply go to Settings → Camera → Formats and make your choice:
- High Efficiency—Encode photos/videos you take using the efficient H.265 codec.
- Most Compatible—Always use JPG for images and H.264 for videos.
If you don’t see these options, your device lacks hardware support for shooting in HEIF. HEIF capture requires an iOS device powered by Apple’s A10 chip or newer, like iPhone 7.
Changing your camera format won’t recompress any existing images in Photos.
Lastly, shooting in 4K at 60 frames per second or recording high-frame rate Slo-mo video in 1080p at 240 frames per second requires that the High Efficiency option be enabled in Settings.